
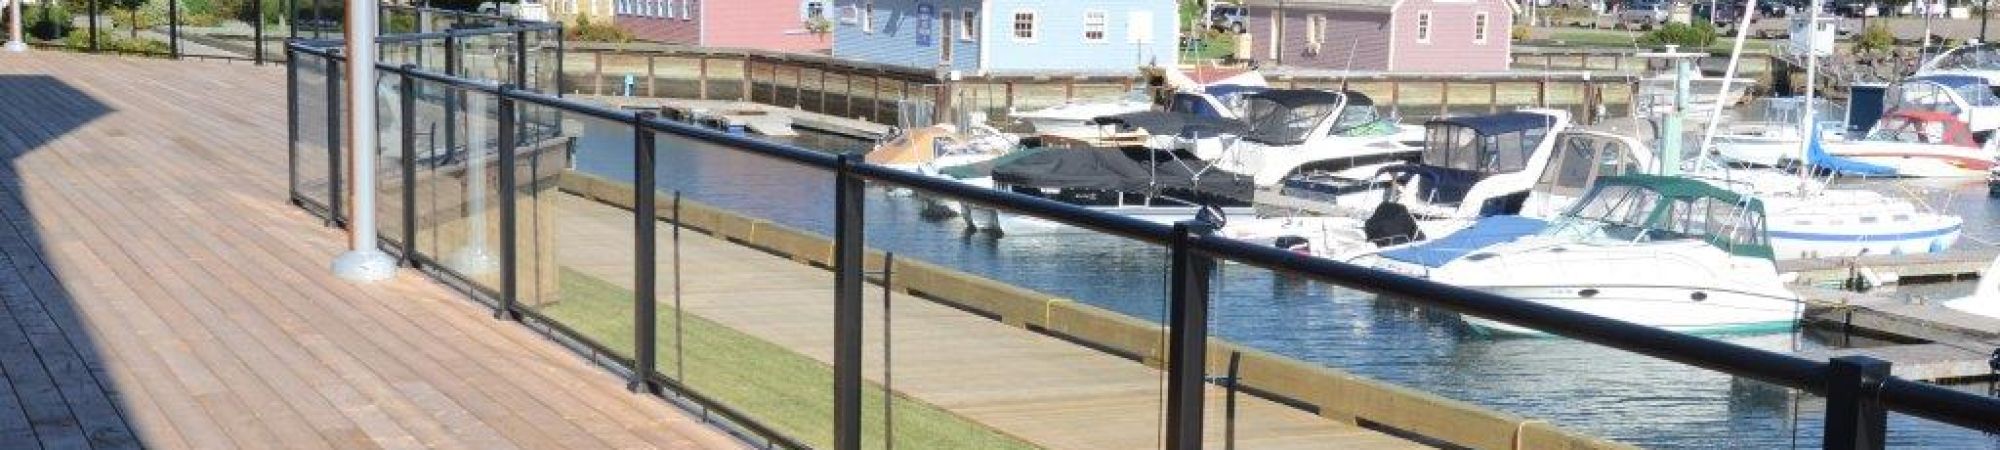
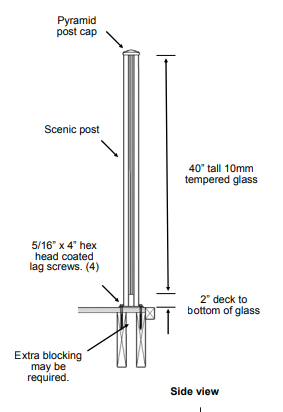
How to install a Scenic Century Post into wood deck
Scenic Posts
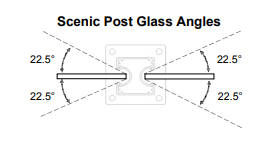
- Determine the posts position based on overall deck dimensions. Note: Post spacing not to exceed 4 ft center to center of post.
- Install posts using 5/16” x 4” lags as per the “Deck Mount Post Installation” sheet.
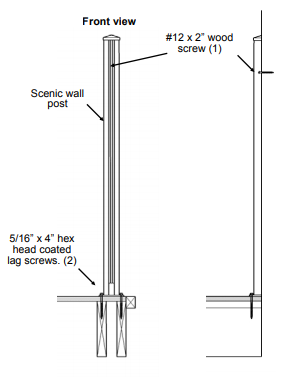
Scenic Wall Posts for Deck Wall Installations
- Determine wall post position against wall or column.
- Plumb wall post using a level and install using 5/16” x 4” lags.
- Recheck that the wall post is still plumb and fasten the post to the wall or column using a #12 x 2” wood screw through the pre-drilled hole in the back of the black glass insert and glass channel. Hole is located down approximately 3” from the top of the post.
- Remove the post cap and install the glass, then replace the post cap.
If installation is in areas where there is a potential of high winds or high wind gusts exceeding 60MPH/100KPH, it is advisable to consult with a professional engineer to determine if this product is suitable for the intended application.
Residential installation only. Commercial applications may differ. Always check with local building codes prior to purchasing and installing this product. Scenic Series railing may not be approved as a guard railing in some jurisdictions. Check with your local building inspection authority prior to purchasing to ensure this product is code compliant for your intended usage.


0 Comments