
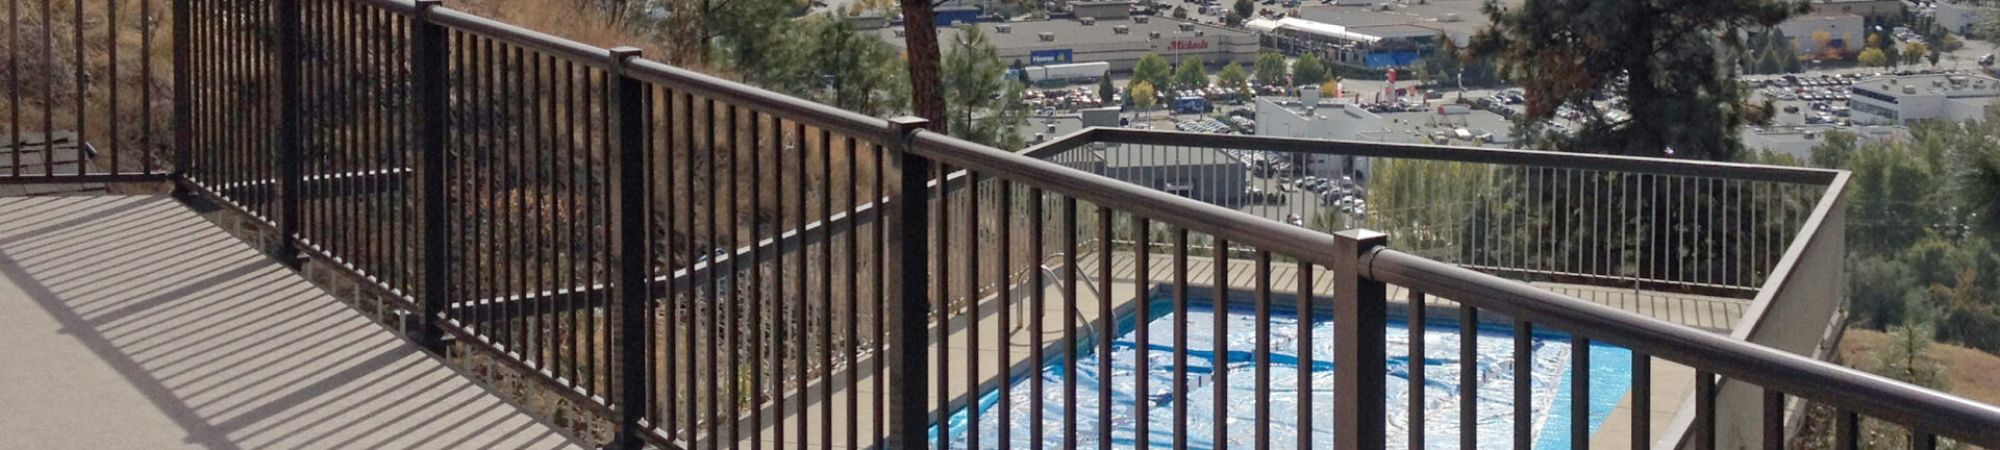
WELDING YOUR PICKET RAILING
Step 1: Locate posts at equal intervals along the outside of deck. It is recommended to start at one end of deck adjacent to house. Use one lag screw to loosely secure post to deck. Temporarily leave lag screw head approximately 1/2” above post base. It is advised to pre-drill all holes on deck with 1/8” bit. Blocking may be required with some types of composite and wood decking.
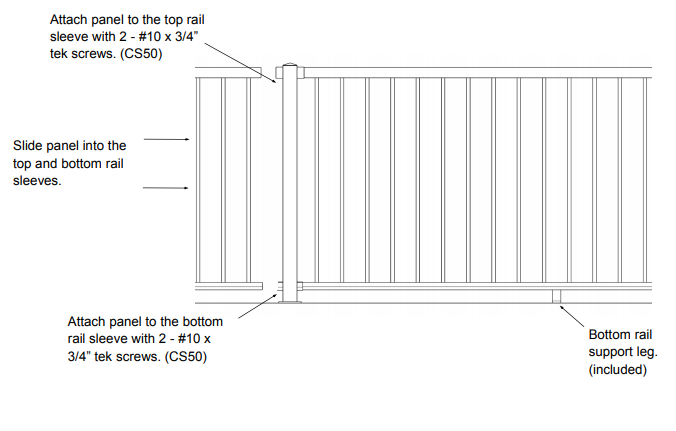
Step 2: With posts/baseplates flat on deck, measure distance between posts ( for accuracy take inside measurement between posts at bottom), subtract 5/8” from total measurement and cut top and bottom rail of panel. When measuring panel ensure equal spacing between pickets at either end of panel and posts.
Step 3: Slide picket panel top and bottom rails into posts sleeves. You may need to remove or further loosen the post lag screw in order to allow a smooth fit onto the post sleeves. Once panel is in place centre bottom rail support under bottom rail. Replace or tighten lag screw , plumb post and install remaining lag screws into post baseplate. Use #10 x 3/4” self tapping tek screws through top and bottom post sleeves to secure panel to post.
**Note: Panels are available in 8 ft and 12 ft lengths
When Picket Railing is being used as a guardrail, do not exceed the 96” center to center spacing as this is outside our engineering spec and is at the end users own risk and could result in a failed inspection. It is the sole responsibility of the home owner/contractor to comply with local building codes.
Residential installation only. Commercial applications may differ. Always check with local building codes prior to purchasing and installing this product.


0 Comments